
How to Use Wirecast Live Streaming for Professional Broadcasting

Wondering how to use the Wirecast encoder for live streaming on your website?
Encoding is a vital aspect of live streaming. As you may be aware, using and understanding a live streaming encoder can be one of the most challenging aspects of live event streaming.
In this article, we’ll cover the basics of how to live stream with Wirecast. Our goal is to help you maximize Wirecast’s features for your live event streaming. Specifically, we’ll walk you through how to set up your Wirecast encoder with step-by-step instructions to get you streaming quickly and effectively.
Let’s start by taking a closer look at Wirecast and what it does before jumping into how it can support your Wirecast live stream.
What is Wirecast?
 Telestream’s Wirecast is a live video streaming production encoder. It supports both Mac and Windows users in broadcasting live video streams. The inputs compatible with Wirecast for live broadcasting include:
- Use of multiple cameras and audio sources, and
- Pre-recorded audio/video files.
Wirecast allows you to use overlays with your stream. Overlays are titles and other displays that you can add to your live stream.
With Wirecast, you can add motion or still titles to your broadcast. Editing during the live stream is easy to do with Wirecast. For example, you can add color filters or even create your own.
Wirecast’s main role is to encode, and it does that job well. Wirecast covers a large range of video resolutions and bitrates designed to work for any project size.
You can record your entire live broadcast straight to your hard drive as an MP4, Windows Media or MOV. Furthermore, Wirecast doesn’t restrict you to streaming from one proprietary CDN (Content Delivery Networks).
The software comes with over 200 presets for streaming servers, services, and CDN’s. For more context, you can also review this article on live streaming CDNs.
Note: Check out this article on live stream encoding software to review encoding software in general, before learning more about Wirecast in particular.
Required Encoder Settings
The following live stream encoder settings are required for live streaming with Dacast, regardless of your selected resolution and bitrate:
| VIDEO CODEC | H.264 (x264 may work) |
| FRAME RATE | 25 or 30 |
| KEYFRAME INTERVAL | 2 secs (or 2x frame rate) |
| SCANNING | Progressive |
| ENCODING BITRATE | Constant (CBR) |
| AUDIO CODEC | AAC |
| AUDIO BITRATE | 128 kbps |
| AUDIO CHANNELS | 2 (Stereo) |
| AUDIO SAMPLE RATE | 48 kHz (48,000 Hz) |
Broadcasting Events with Dacast Using Wirecast Live Streaming
Now that you’re familiar with Wirecast, let’s dive into the nitty-gritty of how to live stream with this encoder. We’ll focus specifically on broadcasting using the Dacast streaming service. However, you can follow the same steps for other video streaming platforms that are compatible with Wirecast.
Step 1. Open Wirecast. Make sure all of your cameras, microphones, hardware, and other devices are plugged in or installed and ready to use.
Step 2. Within Wirecast, you should see two windows on the top half of your screen. The top left is your preview window. The top right is your live window. The bottom half is for your layers. The layers have four options: Camera, Audio Source, Desktop Presenter, or Previously Recorded File.
Step 3. Select the layer to display the live video and click the ‘camera’ icon. Select the camera you’d like to use and hit add.
Step 4. Now you need to activate audio. Hover over the plus icon on the layer once more, and click on the ‘speaker’ icon. Note: I recommend using the layer below the layer you chose for video.
The layers filter upward. This means that nothing else, like your video, will obscure the audio. Add the hardware you connected in Step 1, such as a microphone.
Step 5. You’re almost ready to go! At this point, you can add a picture or a graphic to your live stream if you like. To do so, hover over the plus icon and click the ‘document’ icon (it’sit looks like a piece of paper).
Next, click ‘add picture shot’ to bring up your files to select the picture you want. Double-click on the new shot you just created to edit it.
Step 6. You’re ready to stream! Click the ‘stream’ button in the top left corner. This will open a window for ‘Output settings’. Select Dacast from the list of live streaming services that are offered.
Step 7. After clicking OK, a new window will appear. From here, sign in using your Dacast account information.
If you don’t have an account, click on the sign-up button located beneath the logo.
Step 8. Finally, you have the option to change the bitrates, encoding size, and kilobytes per second at this point.
Step 9. You’re now live event streaming with Wirecast. Enjoy!
Tips for Using Wirecast to Live Stream
 Before the event, make sure you test all of your equipment by running an end-to-end test. To do this, use the bandwidth at the location to test your connection speed. You’ll also want to test out all microphones, professional streaming services (i.e. Dacast), and the encoder itself (Wirecast).
You’ll want to have a live shot of the event running on screen before the event begins (for at least 10-15 minutes). You’ll also want to play music in the background before the live event streaming begins.
With Wirecast, you can set up two cameras: one to be the backdrop while the other to record the actual event. You can set up the first camera very easily using previously recorded files. For example, you can upload audio-only files that loop continuously.
If you plan to live stream a concert, for example, you might set the look-in shot as the crowd gathers toward the stage. At the same time, you can queue up the shot of the stage ready for the band to come on.
During the broadcast, you can add overlays on the screen. For example, you may want to display the person’s name on the camera.
Additionally, you can add your own logo to any shot. You can even resize the logo and place it on the screen to increase your brand recognition. This is a benefit to using a white-label streaming service like Dacast, which does not detract from your stream with its own advertising or logo.
For more useful tips, check out our article on 8 quick tips for improving live streaming quality.
Wirecast Extras for Live Event Streaming
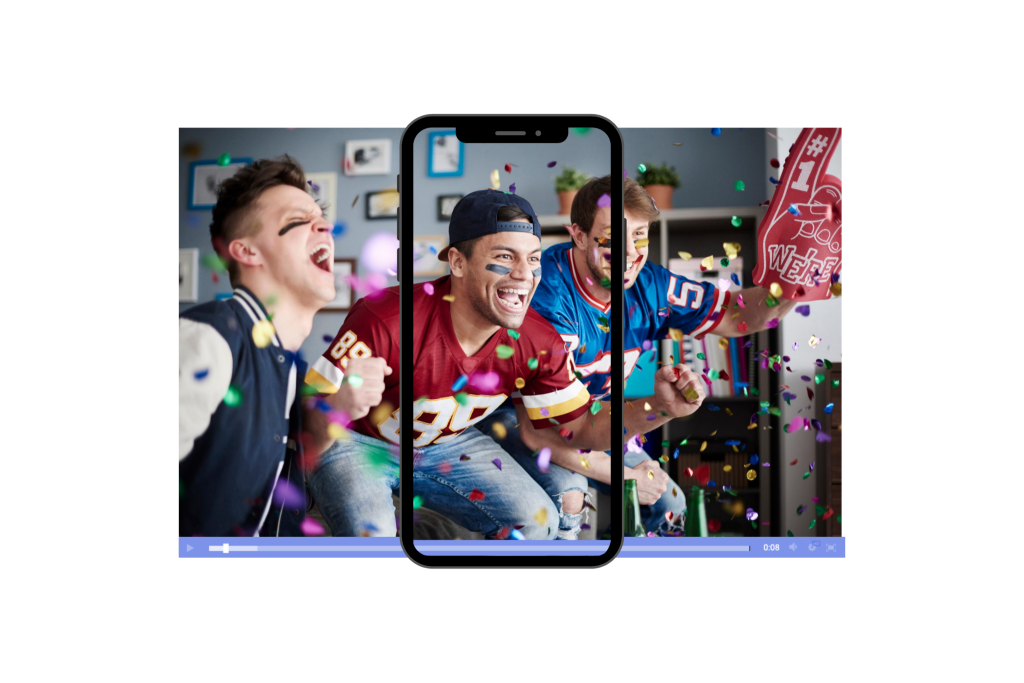
1. Live Sports Broadcasts
–Portable: As a software encoder, all you need to use Wirecast is a computer, camera, and internet connection.
–Integrated live scoreboard: Give your live broadcast a professional sports look by adding a customizable scoreboard. This gives your viewers the information they need.
–Replay: With Wirecast (Pro), you can replay any part of your stream in real-time. Imagine being able to rewind a great play in a game while your audience is watching live. This is ideal for downtime in the game as well, and it can boost any sports broadcast.
2. Virtual sets

-Use green screens and other pre-made virtual sets to create your own broadcast studio environment.
-Chroma key lets you add a background photo or live backdrop behind your live video.
3. Create Dynamic Titles
![]()
-Titler Prolive allows you to create 2D and 3D titles for your live event broadcasting. You can edit pretty most aspects and it comes with many pre-made templates and features as well.
-This feature can add a cleaner and more professional look to your live stream. It can also help to create more brand recognition for your company.
Conclusion
Wirecast is one of the best encoders on the market. The price range is right in the middle, meaning you get great features at a reasonable price. Wirecast offers live switching, smooth transitions, and overlays. Telecast also rolls out new Wirecast features fairly often, meaning there are always new tools to explore. If you feel you need an immediate update in features, you can also upgrade to Wirecast Pro.
We hope this article has offered you some insight into Wirecast and the tools it can offer you for live event broadcasting.
For regular tips on live streaming and exclusive offers, we also invite you to join our LinkedIn group.
Finally, if you’re new to streaming and in search of a streaming service, why not give Dacast a try? We offer a 14-day free trial (no credit card required) that gives you the opportunity to explore all of our great features for yourself!
Do you have questions or feedback about this topic or article? We’d love to hear from you in the comment section below. Thanks for reading, and good luck with your broadcasting!