


How to Improve Live Streaming Quality in 8 Steps (2025 Update)

Nobody wants low video streaming quality. Buffering, lagging, and low-resolution viewing on any video stream can ruin the experience. This is especially true for live videos, where live stream quality is more easily distorted by factors such as a poor internet connection, streaming software, and low video bitrate. And for brands looking to connect with their target audience, providing low-quality streaming services can damage rapport with viewers.
Fortunately, video streaming quality is increasing as technology progresses. As internet speeds and quality equipment continue to improve, video files and live events facilitate a smoother streaming experience.
However, as a brand or business, you still need to be up-to-speed on how to create high-quality live streams. As quality issues dissolve with technological progress, this only raises the bar. Viewers today expect higher-quality live streaming, all the time. That’s why in this article we’ll unpack the technical changes you can make right away to produce better live video content. We’ll discuss everything from encoder settings to choosing the best live streaming platform so you can quickly increase the quality of your video streams.
Table of Contents
- The Importance of Live Streaming Quality
- Live Video Streaming Stats and Trends
- How to Improve Stream Quality in 8 Steps for 2024 and Beyond
- Invest in High-Quality Live Streaming Equipment
- Optimize Your Live Encoder Settings
- Use a Professional Online Video Platform
- Choose a Powerful CDN
- Use a Reliable Internet Connection
- Enable Multi-Bitrate Streaming
- Choose the Optimal Resolution
- Test Thoroughly
- FAQs
- Conclusion
The Importance of Live Streaming Quality
One of the most common goals among professional broadcasters is to create a positive viewer experience. The quality of a live stream directly impacts that experience. You don’t want your viewers to deal with bad streaming quality. Since live stream quality is so important to the viewer, it should be important to broadcasters, as well.
Research shows that professional broadcasters risk losing up to 25% of their revenue when the quality of their streams is less than desirable. Even putting money concerns aside, it simply makes sense to create content that your viewers enjoy watching.
With access to the technology we have today, it is both easy and affordable to learn how to increase and improve streaming quality.
Live Video Streaming Stats and Trends
The live-streaming industry is booming. Here are a few statistics and trends that showcase the unlimited opportunities within online video streaming:
- The value of the global online video platform industry is expected to grow 8.4% from 2021 to 2028
- By 2027, the live-streaming industry is forecast to be worth $247 billion
- Live streaming events increased by 300% in the first 6 months of the pandemic
- Over three-fourths of internet users watch online video content every week
- Viewers are more likely to retain a message from video content than from
- Video content marketing helps to increase revenue 49% faster than other types of content
- Live streams capture viewers’ attention for 10-20x longer than pre-recorded content
- Multistreaming will be big in 2024, with many multistream platforms already available to stream to multiple sources
Businesses and organizations that want to get into the professional broadcasting space need the support of an online video platform that will allow them to deliver high-quality video streaming content for their viewers.
How to Improve Stream Quality in 8 Steps for 2024 and Beyond
When it comes to professional broadcasting, “high quality” and “professional” are nearly synonymous. There are several measures you can take to ensure that your video quality is the best it can be. Taking these measures will help you provide your viewers with the best experience and eliminate low-quality streaming for your business.
Here are 8 things that you can do to improve the quality of your professional broadcast.
1. Invest in High-Quality Live Streaming Equipment

The streaming equipment that you use will make or break the quality of your live stream. Professional broadcasters need professional-grade equipment to record high-quality video. You need high-quality video content to provide your viewers with quality streams.
Full HD or 4K cameras are the best options for professional broadcasting. Cell phones and consumer-grade cameras may suffice for Twitch and YouTube streamers, but B2B broadcasters should invest in professional live streaming equipment to provide a top-notch user experience. Full HD or 4K cameras provide better stream quality by capturing images at a higher resolution than your cell phone or consumer-grade cameras are capable of doing.
One major reason for this is that if your original recording is of poor quality, you can do nothing to improve it. That’s why using a good quality camera will provide the best possible image from the moment it is captured. How to get better stream quality starts with capturing the original image in the higher possible resolution.
For an in-depth guide on cameras for live streaming, check out our camera recommendation guide.
2. Optimize Your Live Encoder Settings
video encoder is used for almost all live streams. A software or hardware encoder is a tool that converts your live video into streaming-compatible formats. Encoding your video content allows it to transmit to your live streaming platform to stream live or on-demand to your viewers.
Your encoder has a lot to do with the quality of your livestream. What it comes down to is using the optimal settings for the video player on your live-streaming website
Here are our recommended live encoder settings:
| VIDEO CODEC | H.264 (x264 may work) |
|---|---|
| FRAME RATE | 25 or 30 |
| KEYFRAME INTERVAL | 3 secs (or 3x frame rate) |
| SCANNING | Progressive |
| ENCODING BITRATE | Constant (CBR) |
| AUDIO CODEC | AAC |
| AUDIO BITRATE | 128 kbps |
| AUDIO CHANNELS | 2 (Stereo) |
| AUDIO SAMPLE RATE | 48 kHz (48,000 Hz) |
These settings are required for streaming live video with Dacast, regardless of your selected resolution and bitrate. There is often a sweet spot that is determined by the size of the video you are streaming and what your viewers’ internet connection will withstand. The above settings are one way to improve your stream quality.
There are other important encoder settings related to video resolution, video bitrate, and audio bitrate. For more information, read our full guide to live streaming encoder settings. This guide will provide you with more information on how to improve your live streams and on-demand content through the use of the right encoder settings.
3. Use a Professional Online Video Platform

Maximize your video streaming setup quality by selecting the right online video platform (OVP). An OVP provides streaming solutions for managing and hosting video content. They usually also provide other tools for monetization, security, and so on.
There are three features to look for that will help you maintain high-quality streams.
- CDN or a content delivery network: How does the OVP distribute content?
- Resolution: Look for an OVP that allows you to broadcast in full 1080P HD.
- Support: Choose an OVP that offers 24/7 customer support so that you don’t find yourself in a pinch without anybody to help you troubleshoot your live streaming issues.
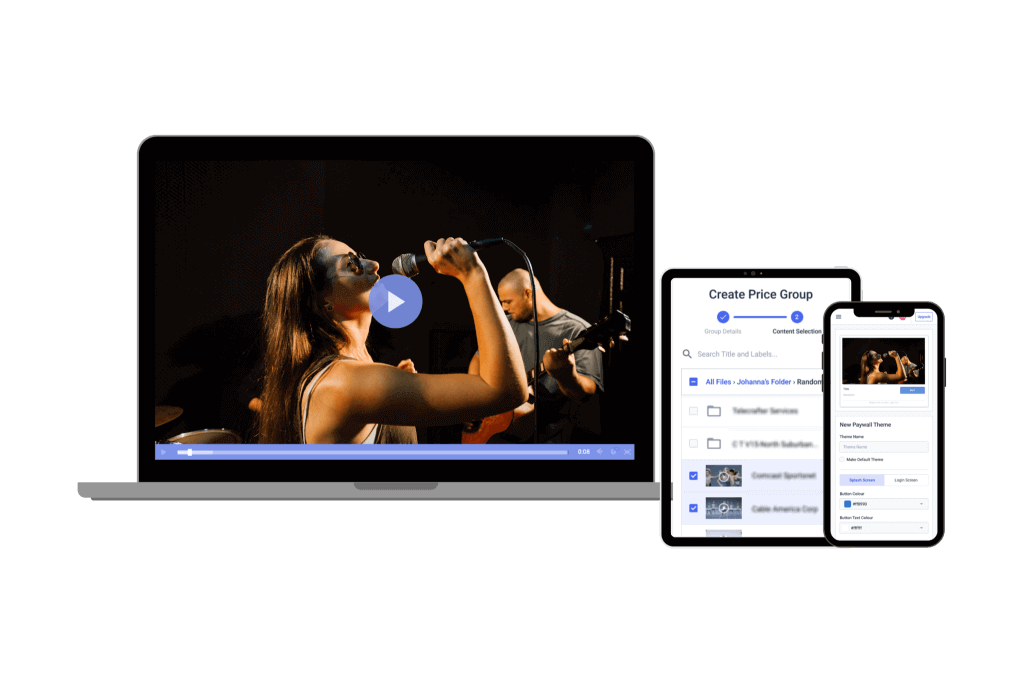
Dacast is a great streaming solution and VOD platform with OTT video delivery capability that offers all of these useful features. You can learn more about the full range of video streaming features that we offer on our website. If you want to know how to increase your stream quality, you need to work with a quality OVP that provides you with the tool to deliver powerful content to your viewers.
4. Choose a Powerful CDN
As we touched upon in the OVP section, the video CDN that your OVP uses makes a world of difference in your viewers’ experience.
A CDN (Content Delivery Network), is the system of proxy servers that are used to distribute content. The best video hosting platforms integrate with powerful CDNs. Look for an OVP that uses a reliable, global content delivery network. This will help ensure that no matter where your viewers are located, they will experience great stream quality.
You want to choose a live-streaming CDN that has a decent-sized distribution network. More than 100,000 servers are ideal. This will help you bring high-quality streaming to viewers in a wider geographical region. A large CDN network is one way to make your streams smoother for all your viewers around the globe.
5. Use a Reliable Internet Connection
When you broadcast streaming video, you need sufficient internet speed to sustain the streaming. For live video, your upload bandwidth should be at least twice your broadcast bitrate.
Here is a quick calculation on how to increase bitrate and determine your broadcast bitrate: add your video bitrate to your audio bitrate. If you are broadcasting in multi-bitrates, add all of them together.
Then, you can test your internet speed by searching “internet speed test” on Google. Google has a built-in tool that will give you both your upload and download speeds. For broadcasters, the upload speed is typically more important than the download speed.
When you’re choosing an internet connection, we recommend favoring ethernet over a wireless connection since WiFi can be unstable. If WiFi is your only option, move close to the router to ensure a clear signal.
Here are a few more recommendations for getting the most out of your connection:
- If possible, use a wired Ethernet connection. WiFi can be unstable.
- If you must use WiFi, move close to the router to ensure a clear signal.
- Close unnecessary web browsers and applications to free up bandwidth on the computer you are using for your video production needs.
- Remove other devices from the network. Every additional device on a network draws more bandwidth.
- If necessary, purchase a faster internet plan.
Although it is out of your control as a broadcaster, we’d also like to point out that the emergence of 5G cellular data will cut latency, reduce buffering and increase video quality for your viewers who have access to 5G.
6. Transcoding and Multi-Bitrate Streaming
Another way that your OVP can influence video streaming quality is through transcoding your video into different renditions to make multi-bitrate streaming possible.
Multi-bitrate streaming refers to the process of sending a live stream out in multiple different qualities at once.
When it comes to bitrate, modern video players are adaptive. This means that they automatically detect the viewer’s internet speed and adjust accordingly. For a viewer on a slow connection, they’ll deliver a lower-quality video. For those on a fast connection, the video quality will be higher. The video quality will match your viewer’s internet speed, allowing you to deliver the best possible experience to every viewer.
This is dependent on your OVP’s offering of video transcoding tools and multi-bitrate streaming capabilities. Not every platform supports these features, ensure your OVP supports them.
7. Choose the Optimal Resolution

Although they are related to encoder settings, video resolution, and video aspect ratios are so important that they need a section of their own.
Choosing the perfect resolution requires a bit of a trade-off. Naturally, you want to use the best video resolution possible so that your viewers have a crystal clear view of your video. However, the “ highest resolution” does not equal the “best resolution” when it comes to live streaming.
You want a resolution that provides a clear image without being too big to transmit without lagging. Professional broadcasters typically opt for 1280 x 720 pixels (720p) or 1920 x 1080 pixels (1080p). If you are wondering how to make your streams better, choosing the optimal resolution for your viewers is one way to achieve that goal.
8. Test Thoroughly
Streaming video has many moving parts, so testing before you start your stream is a great idea if you want to improve your streaming quality. Knowing what to look for when testing is half of the battle.
Use these questions as a guide for your pre-stream testing:
- Test video embeds on your website. Does everything look correct?
- If using multi-bitrate streaming, test video quality at different bitrate levels. Are different levels available and viewable?
- Test videos on both slow and fast internet connections. Is buffering minimal?
- Conduct a test transitioning from fast to slow internet. Does the video player adapt?
- Do some stress testing for encoders, cameras, and other live-streaming equipment. Will equipment fail under load?
- Test your total workflow. Make a test live stream and broadcast it privately. Does everything work properly?
If your video streaming software and equipment do well with all of these tests, you should be good to go. Pre-stream testing is one way to make your streams better.
FAQs:
1. What type of equipment is essential for high-quality live streaming?
Investing in high-quality cameras, microphones, and lighting equipment is crucial for producing professional live streams.
2. How do encoder settings affect live streaming quality?
Properly configuring your live encoder settings, such as bitrate, resolution, and frame rate, ensures a balance between video quality and streaming performance.
3. Why is a professional online video platform important for live streaming?
Utilizing a professional online video platform offers reliable content delivery, scalability, and advanced features that enhance the viewer’s experience.
4. What role does internet bandwidth play in live streaming quality?
Adequate internet bandwidth is essential to prevent buffering and maintain a stable, high-quality live stream.
5. How can adaptive bitrate streaming improve the viewer’s experience?
Adaptive bitrate streaming adjusts the video quality in real-time based on the viewer’s internet connection, reducing buffering and ensuring smoother playback.
6. What are some best practices for testing a live stream before going live?
Conducting thorough tests of your equipment, internet connection, and streaming platform helps identify and resolve potential issues, ensuring a seamless live streaming experience.
Conclusion
Maximizing the quality of your livestream setup is paramount to your success. Improving the quality of your streaming content will enhance your image and please your viewers. Higher-quality, smooth HD video is an absolute necessity today, and it can only be done with the right settings in place.
While the suggestions in this article will give you good footing, there’s even more you can do. Browse Dacast’s video streaming knowledgebase for more free content on all things video and live streaming.
Did you know that Dacast’s professional-grade video streaming platform will set you up for streaming success? With Dacast, you can broadcast and monetize your content in the highest video quality. The platform is user-friendly and requires no technical wizardry to get started.
Begin live streaming in the best possible quality with Dacast’s free trial today.
Do you have further questions or comments about broadcasting with Dacast and implementing these best practices? We’d love to hear from you in the comment section below.
For regular live-streaming tips and exclusive offers, you can join the Dacast LinkedIn group.