How to Stream Live Video On Your Website
In previous articles, we discuss how to embed a video on a website, how to do live streaming and other related topics. In this article, then, we’ll offer a review of the entire process from start to finish. First, we’ll review the basics for broadcasting live video stream. Next, we’ll discuss how to embed live video stream right to your website. Finally, we ‘ll bring it all together with a walk-through of how to stream live video on your website.
The topics we’ll cover in this article include:
- Cameras and Capture Devices
- Encoding Software or Hardware
- Internet Connection and Streaming Platform
- Copying the Embed Codes, and
- Embedding to Your Website.
Let’s jump right into the necessary components and equipment, before turning to a description of how to stream live video on your website!
Cameras and Capture Devices
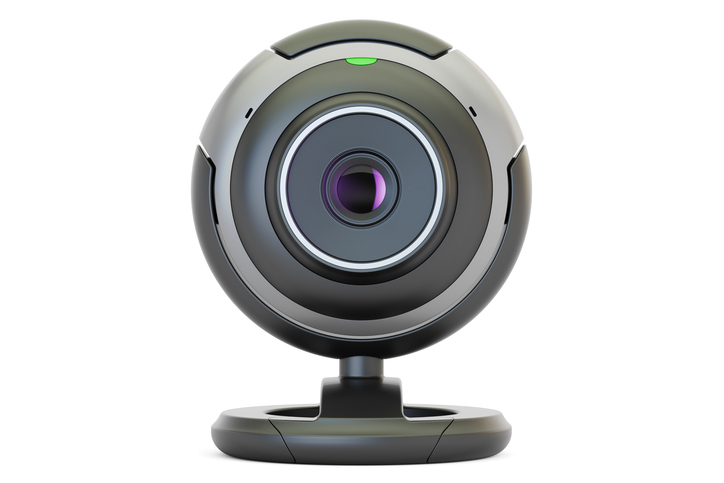
The first physical requirement for live streaming is generally a camera. Some live streaming involves a computer display instead (for example, streaming video games). Most of the time, however, you will broadcast images captured with a video camera. For many broadcast purposes, a webcam provides a perfectly acceptable image quality. Webcams are simple to use and built for internet use. Furthermore, webcams require no additional hardware to send video to broadcast (beyond the encoding device or computer).
 For higher quality video, using a professional camera with an HDMI connection is necessary. That said, these cameras don’t send their images in a format compatible with Internet broadcasting. This means you’ll need a capture device or capture card to transcode the images. The image quality improvement and features like extra lenses and zoom are both significant. These benefits may be worth the extra cost and effort, depending on what type of broadcast you’re considering.
However, it’s important to note that professional-grade HDMI-compatible cameras are usually bulkier and less portable than webcams.
Once you have selected a viable camera option, you’ll want to consider encoding options. While cameras can take and record video for later use, live-streamed content does require additional processing.
Encoding Software or Hardware
So you have a camera ready to go, but you’re still not sure how to stream live video on your website.
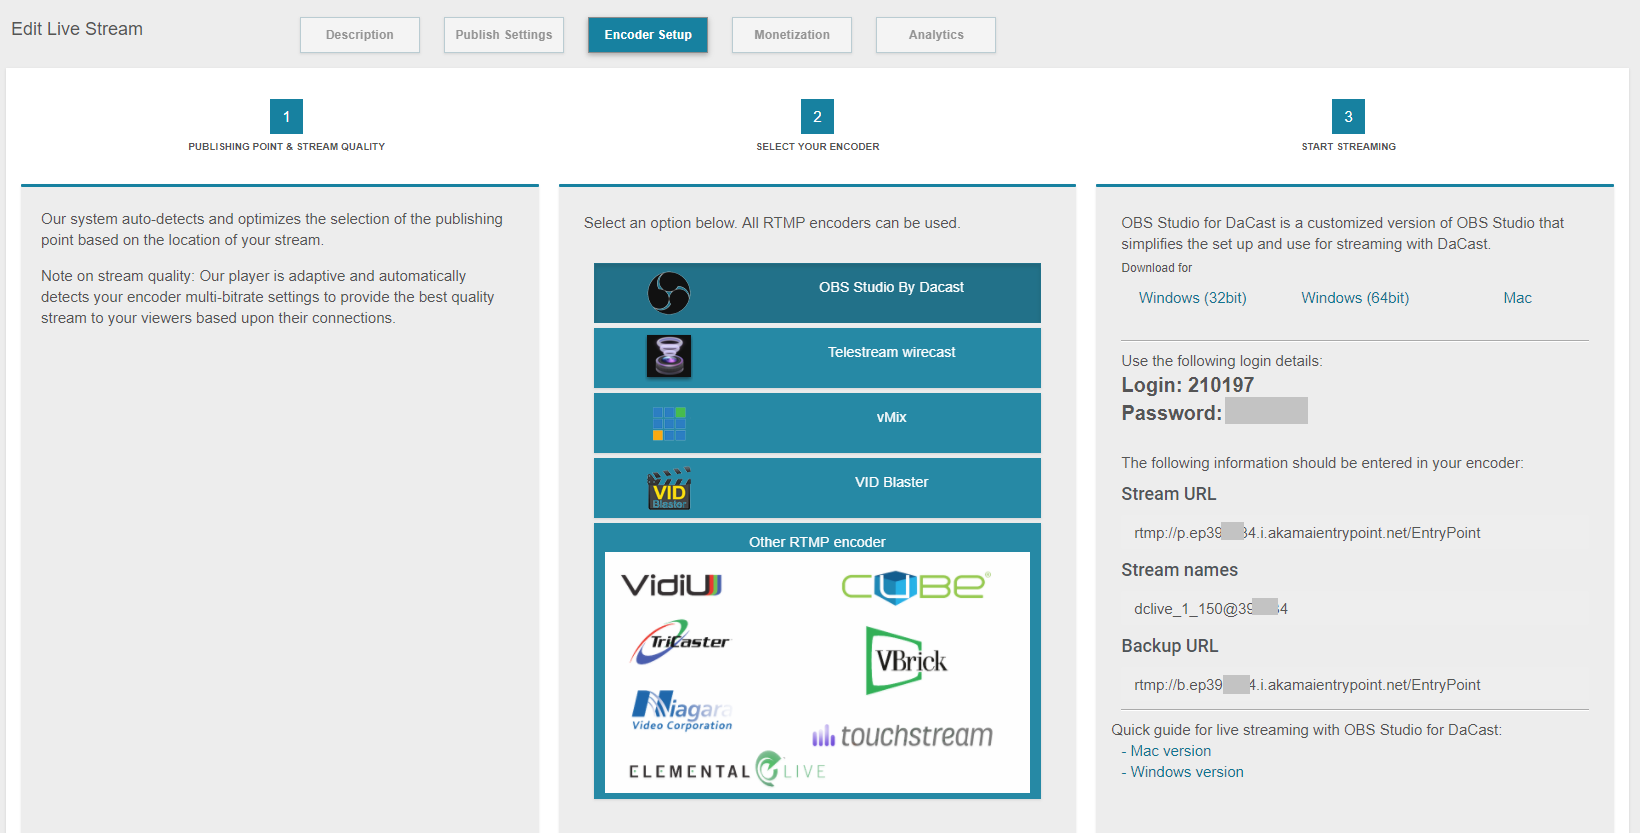
In order to put the video data into a format you can broadcast online, you’ll need a hardware encoder or encoding software. You’ll also need an encoder to make any modifications (such as the use of lower thirds) to your content.
Encoding software comes in free and open-source versions, as well as paid premium and p rofessional versions. The best encoders (such as Wirecast Pro and VidBlasterX) have multiple features for embellishing a video to give it a professional, studio-quality look.
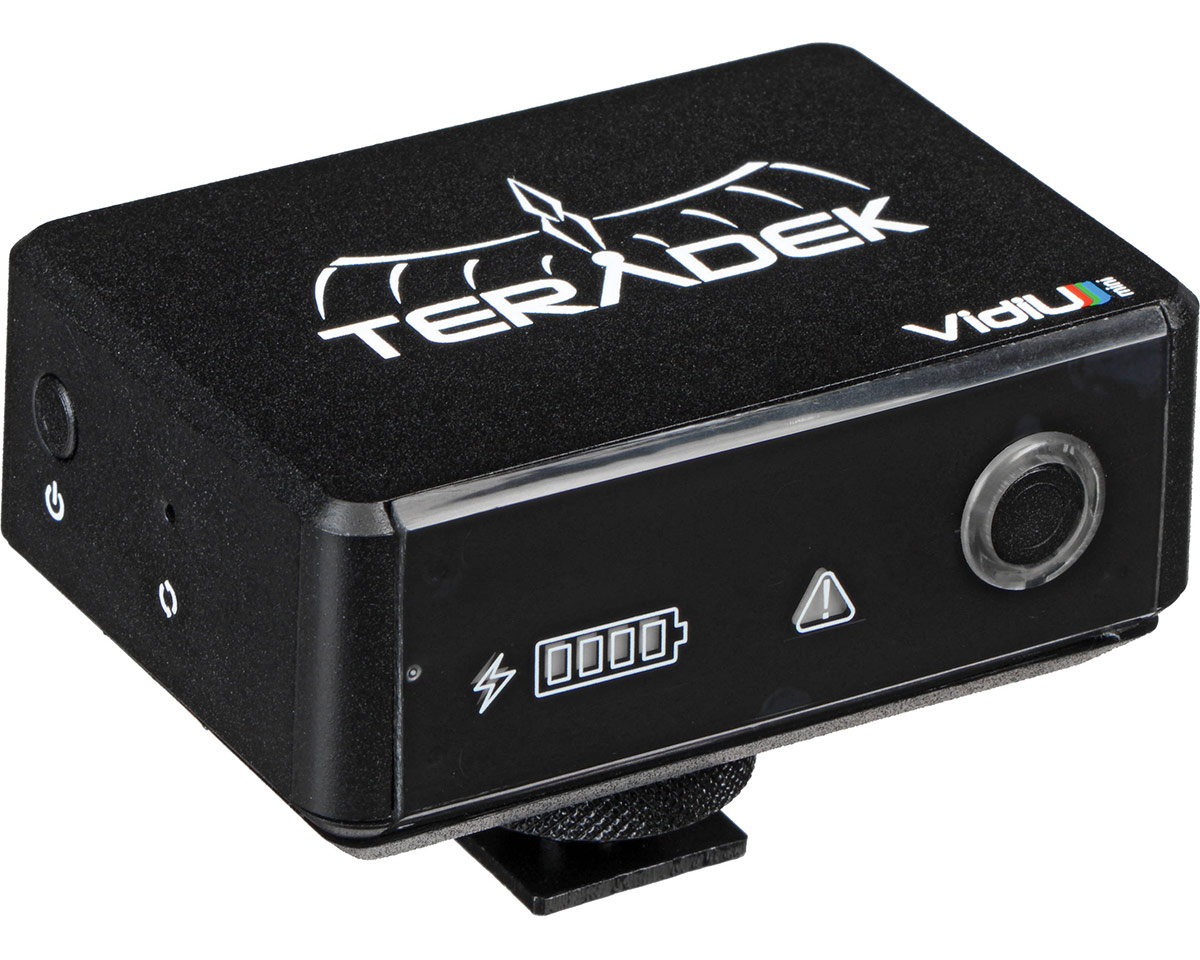
Hardware encoders are generally more portable than encoding software. However, hardware encoders are also more expensive. Broadcasters often use them for streaming from remote sites or situations in which transporting a computer is impractical. The Teradek VidiU Mini (pictured above) is a great option for these kinds of situations. We consider it one of the most portable hardware encoders on the market.
For many broadcasters, encoding software is the most affordable and easy-to-use option. Dacast online video platform, for example, hosts many broadcasters who use Wirecast Pro successfully and seamlessly. Overall, we recommend that you consider the options and make the right decision for your streaming goals.
Internet Connection and Streaming Platform
In order to stream live video, you also need a reliable Internet connection. In general, you need a connection speed at least twice as fast as your upload speed (not download speed). Additionally, you want an internet service that is not subject to fluctuations or unpredictable downtime. For most broadcast purposes, a high-speed DSL or cable Internet connection works best. When that isn’t an option, you may have to rely on wireless connections. With the most advanced generation of smartphones, a mobile hot-spot can be an ideal solution, provided you have unlimited service. As a general rule, you should have at least two Mbps available. The best mobile hot-spots deliver as much as six Mbps.
 You will also need a streaming platform to deliver your video content to your viewers. The most popular free platform is of course YouTube. However, YouTube works best for pre-recorded on-demand video. For many reasons, including professionalism, tech support, and ownership of your own content, free platforms are not the best choice for live streaming.
For most live streaming, your best bet is a white-label service via a dedicated live streaming service. Professional-grade video streaming platforms (like Dacast, Livestream, and Ustream) offer an array of packages that can vary widely. Most offer a very basic free package (sometimes paid for by ads). Paid packages offer more bandwidth, viewer hours, and storage capacity. You want to carefully consider your broadcasting needs and each viable platform’s packages to decide which works best for you. We highly recommend taking advantage of free trials offered by some platforms. The Dacast free trial, for example, lets you test out most of the features yourself before making a commitment.
Your streaming service allows you to upload properly formatted video content, including live streaming video, to the host’s website. This is useful, but it’s only the first step. In this walk-through of how to stream live video on your website, let’s discuss next how to embed your video stream to a website you manage yourself.
Copying the Embed Codes
Your streaming solution (i.e. Dacast) creates embed codes that link to your video stream. This feature allows viewers to see your content via other online locations. Essentially, the codes create a connection between your site and the streaming host’s page. This allows visitors to your website to view the video stream seamlessly as if it were posted straight to your site. Another benefit of this approach is that you maintain control over your content and your website’s aesthetic.
Each service has a slightly different procedure to find and copy the embed codes. In general, they are quite easy to use. With Dacast, click the pull-down menu on your dashboard and choose “Publish Options.” This brings up a sub-menu of embedding options. From here, you can choose two different formats for the codes: JavaScript or iFrames.

iFrames is the most compatible choice and the simplest procedure. iFrames work with a wider variety of services, including WordPress. However, iFrames do not work with some features, such as website referrer restrictions, which help lock down your content to a specific website. The full-screen feature may not work either, nor is the play responsive. From a feature standpoint, the JS code is greatly superior, assuming your website framework supports it.
In addition to these options, you can copy separate embed code to link your content directly to Facebook and Twitter.
Once you select your preferred format, the embed code appears already highlighted in a text box. From there, you can easily copy-paste the code right to your website.
Embedding to Your Website
You’re almost there! We’ve reached the final step in how to stream live video on your website tutorial.
You can now paste the embed code right into your website’s HTML code. Depending on what formatting tools you’ve used to create the page, the procedure may differ slightly.
With WordPress, go into text view, and enter a paragraph break where you want the video to appear. Paste the copied embed codes there. It’s that simple! Go back to the visual view to see the video window (more or less) as it appears on the finished page. Click the Preview button for a more accurate view.
You can find out more details about how to paste the embed codes in this article on how to do WordPress live streaming. Additionally, you can access more detailed information on embedding in this article on how to embed videos on your website.
Live Streaming Video Tutorial
To review all these steps we talked about, we invite you to watch the following video on how to stream live video on your website with the OBS encoder.
Last, but not least…
In addition to setting up the codes to embed your video stream to your website, we also recommend that you pay some attention to the page design itself. Ideally, your video should be the sole focus of the page. You generally don’t want to clutter the page with other content (especially images) except those in support of the video itself. However, you do want to include links for follow-up actions that your viewers can take. These include joining a mailing list, and a chat window or comment box to encourage viewer interaction.
The process of embedding the video stream itself is fairly simple. That said, you do want to monitor the result in real-time to address on the spot any issues that appear before the broadcast begins. Once everything is in place and working well, you can direct your viewers to your website and let the broadcast begin!
Conclusion
At this point, we hope you have a clearer picture of how to stream live video on your website, all in a few simple steps!
After reading this article, we hope the process of how to stream live video on your website seems clear and accessible. We’d love to hear from our readers, so let us know what you think in the comment section below. For regular tips on live streaming and exclusive offers, we also invite you to join our LinkedIn group.
Finally, if you’re not yet a Dacast customer, why not give our 14-day free trial (no credit card required) a try? Click the button below to create your free account today!
Thanks for reading and, as always, good luck with your broadcasts!
By Max Wilbert.
 Stream
 Connect
 Manage
 Measure
 Events
 Business
 Organizations
 Entertainment and Media
 API
API Tools
Tools Learning Center
 Support
 Support Articles